Handprint Owl Kid Craft and Free Printable
This week in our homeschool we have been learning about owls. I made a really fun owl themed snack and was thinking I could do something similar as a printable. My girls are in first grade this year, but I think this would be a simple and cute toddler craft, preschool craft, or kindergarten craft. Actually, I think it would be ideal as a craft for toddlers or preschoolers because their hands are smaller. I was pretty surprised to see how big my daughters’ hands have gotten this year! (And yet they are still tiny compared to my teen! Where do the years go?!)
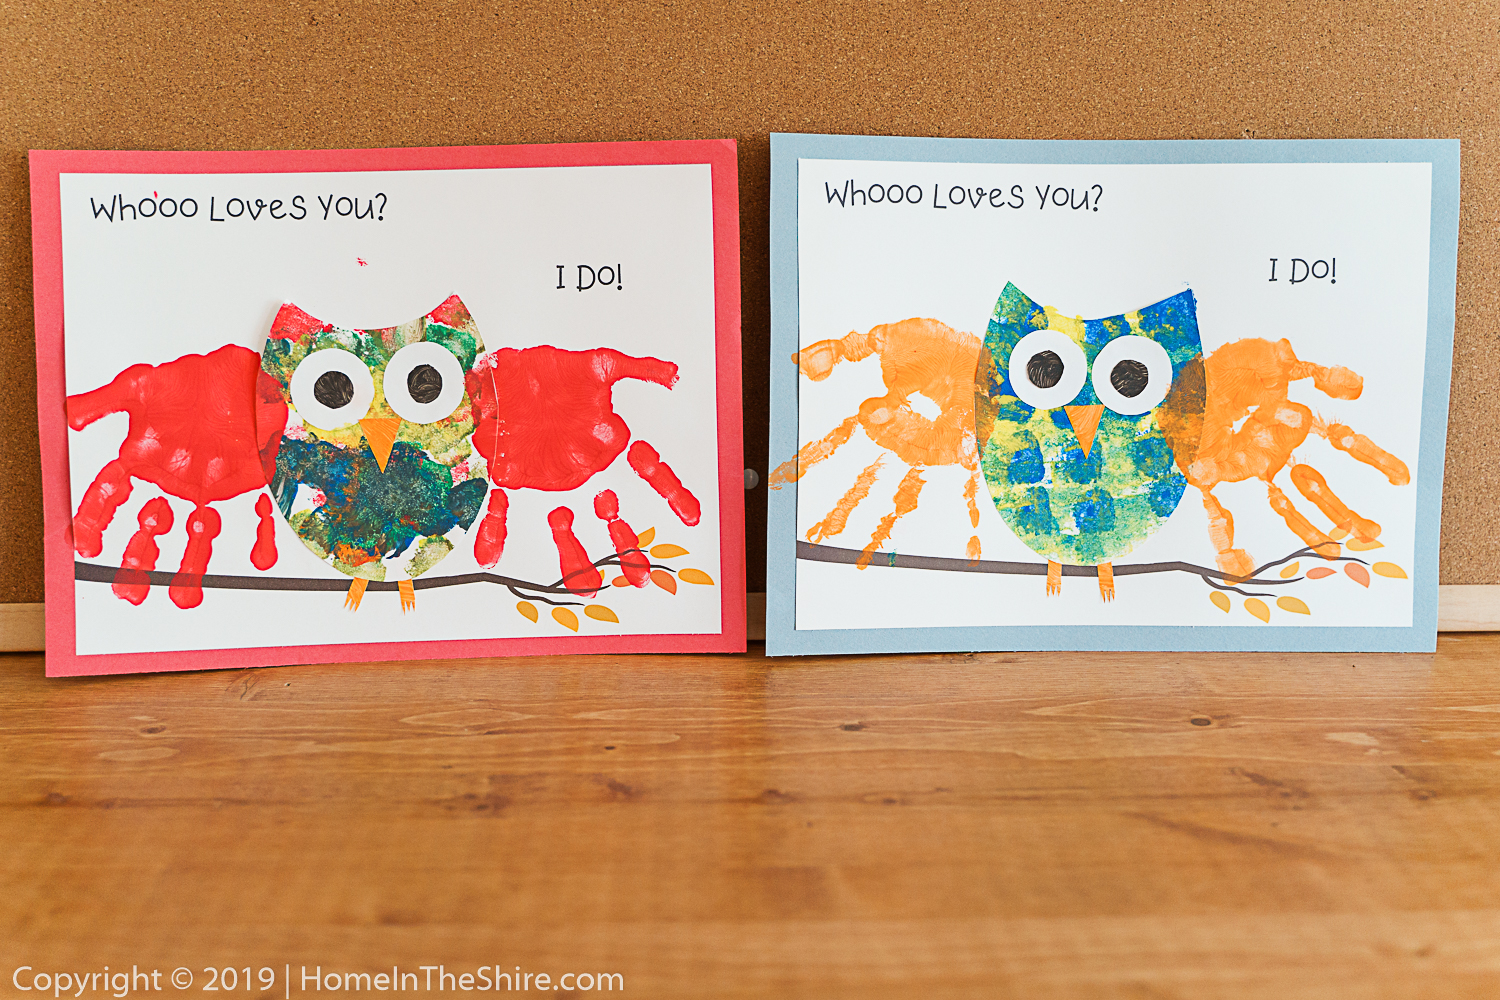
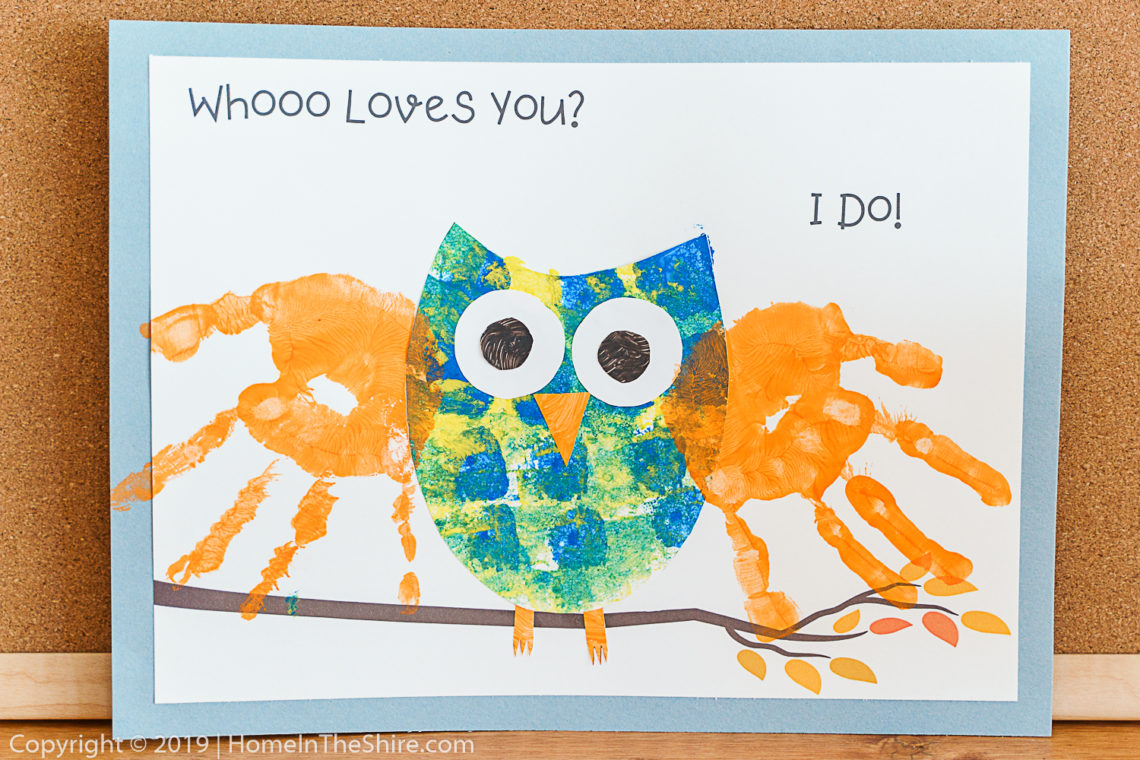
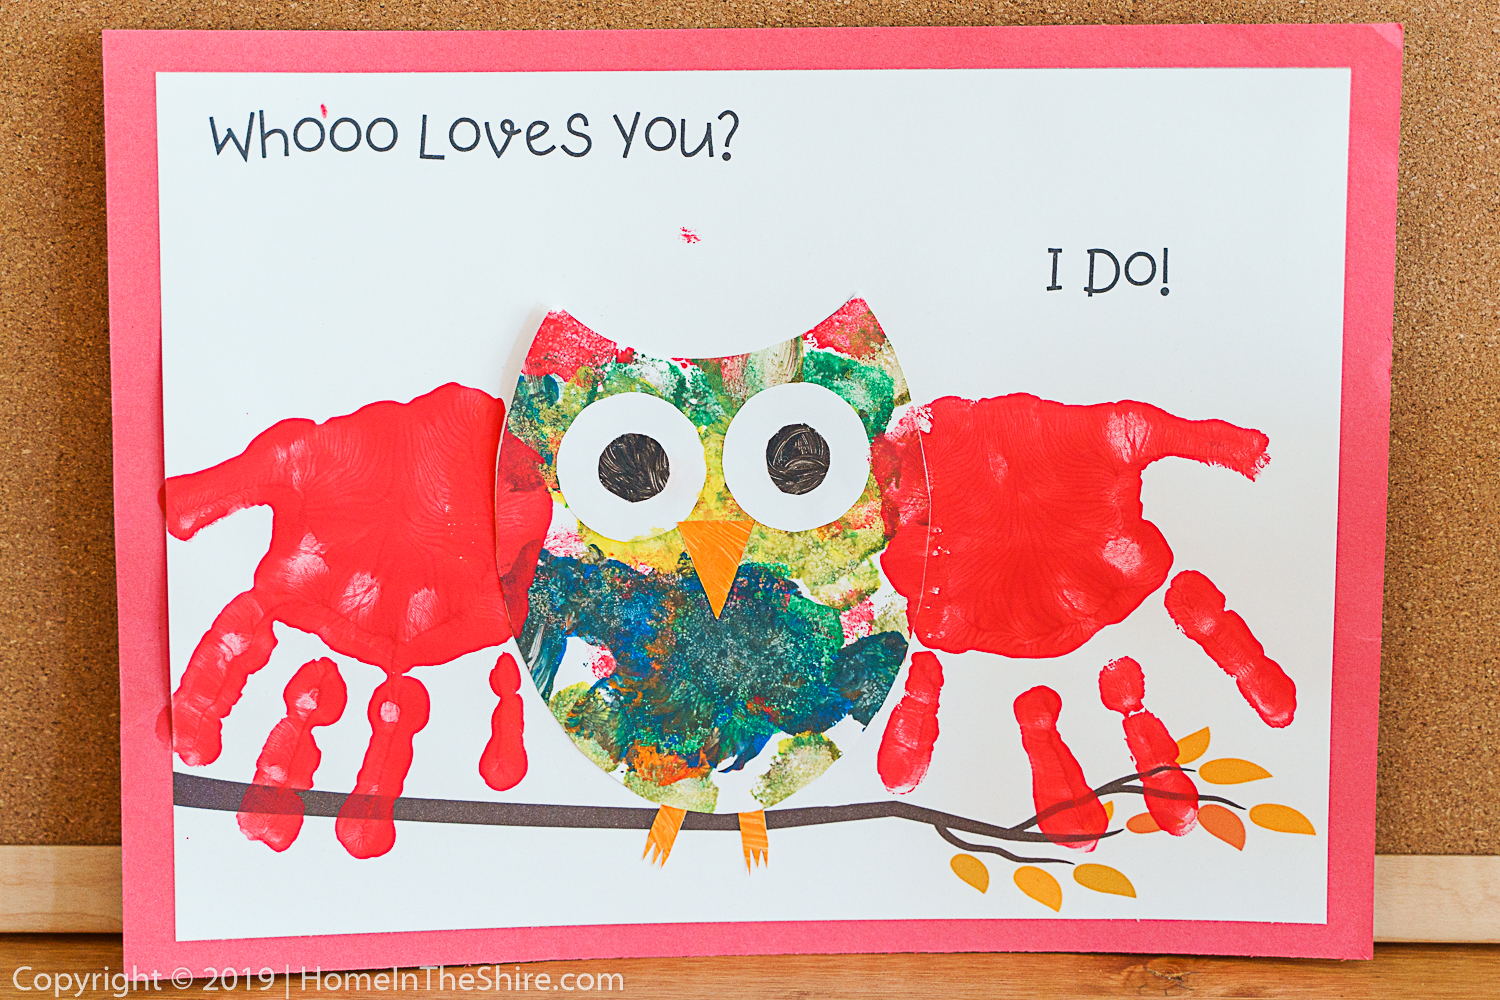
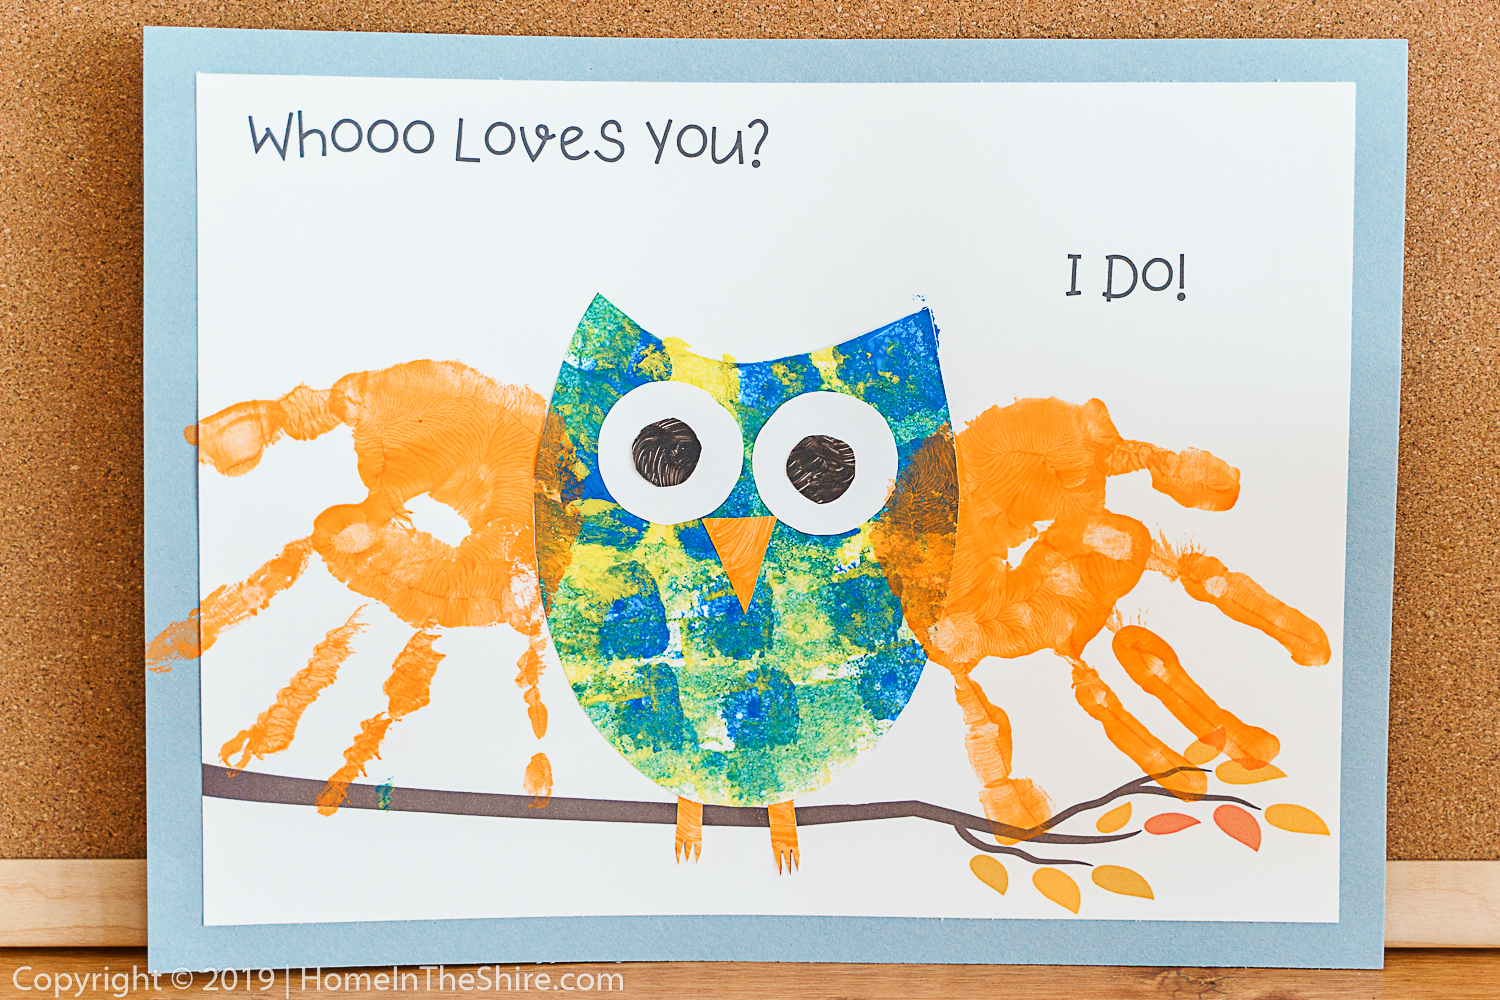
It was my husband’s birthday last week, so I thought this would be a fun craft for my girls to make for him. It would be a great Father’s Day, Mother’s Day, or even Valentine’s Day gift as well. It would be a fun and easy keepsake craft to make for a grandparent as well. Being the Fall season I wanted to do Autumn colors for the leaves on the branch, but I’ll also include a version with green leaves. It crossed my mind that we could mod podge it onto canvas or frame it. Ultimately though I went with simple and just trimmed a little from the top and bottom of the printable and centered it on a piece of construction paper. I think it turned out super cute, and my girls loved it! They each selected their colors and made this for him as a birthday keepsake.
And, bonus, it’s a great fine motor activity for those handwriting skills!

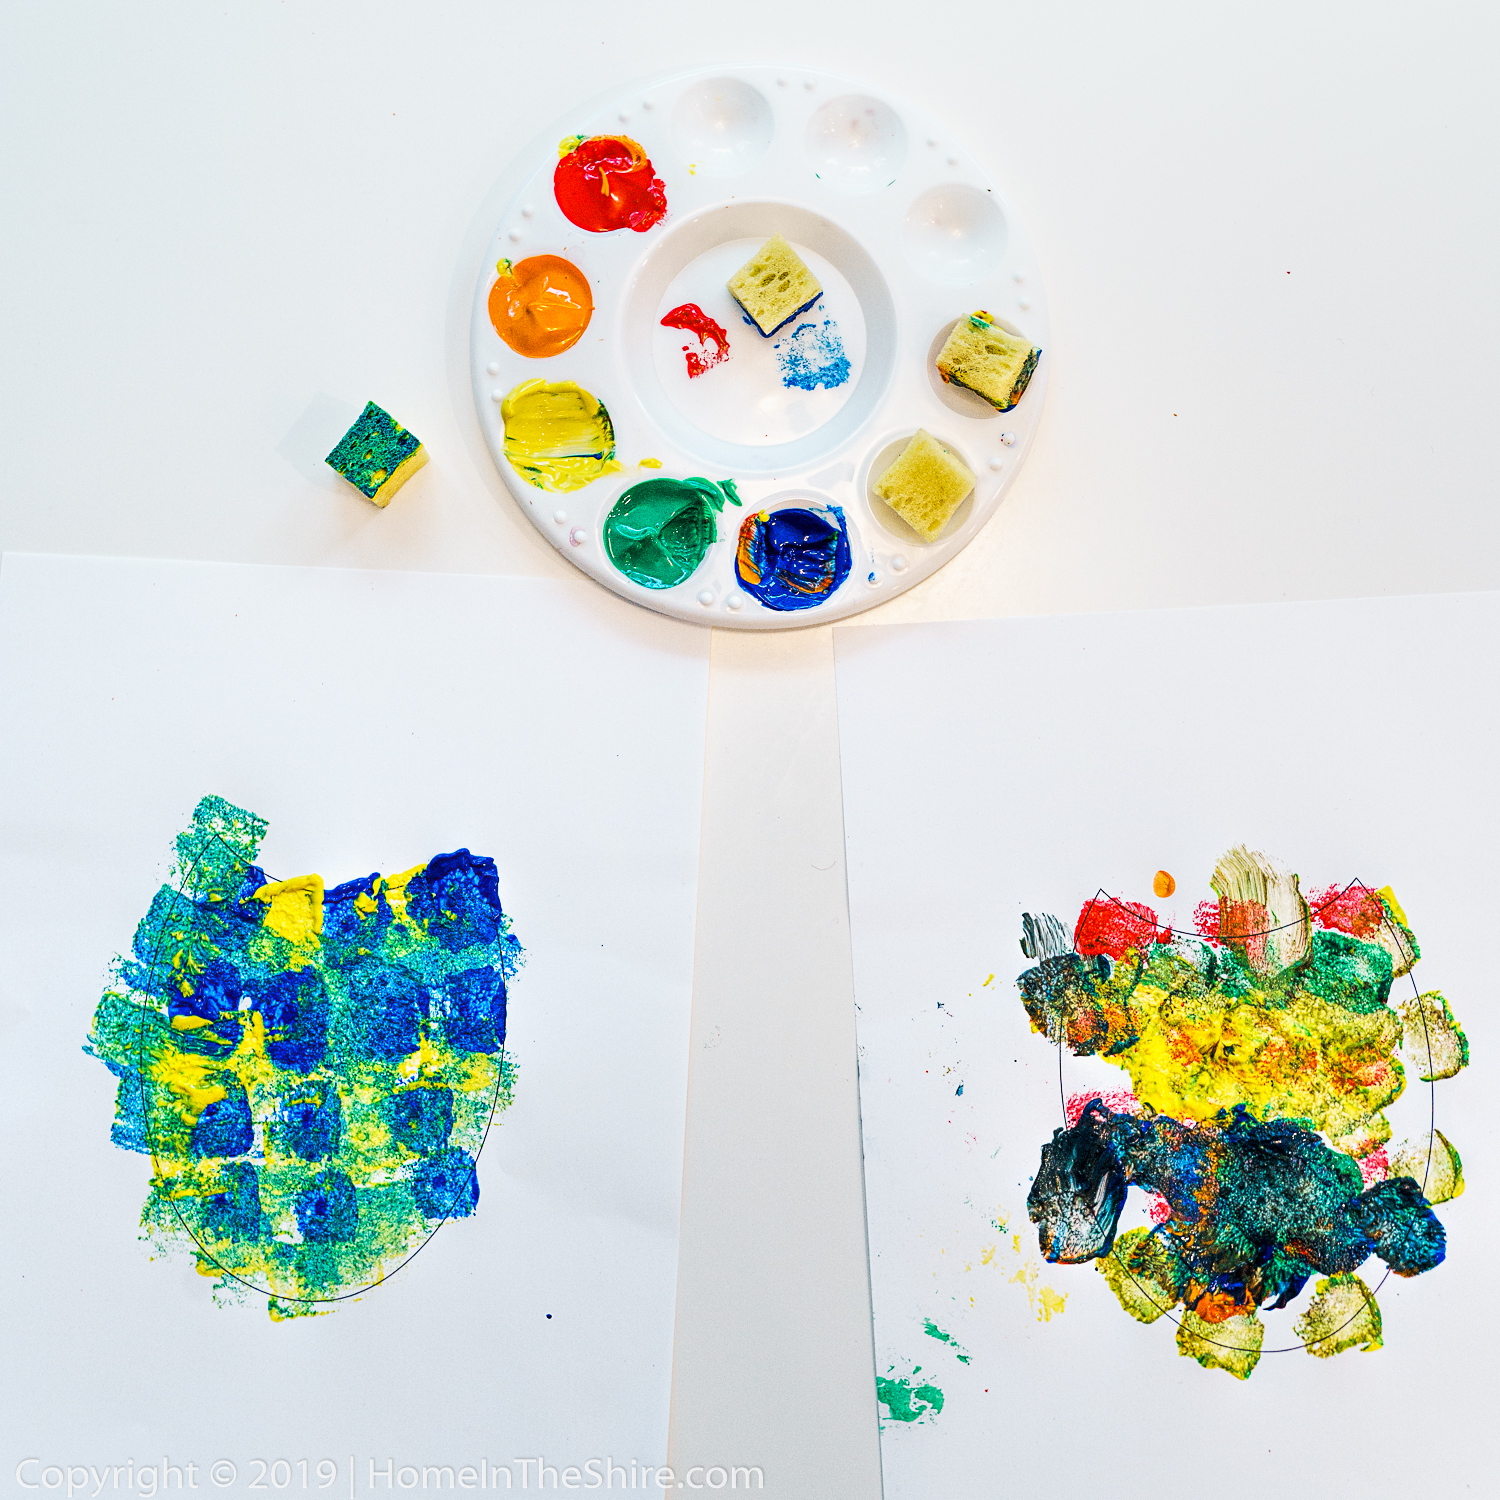
Here’s how their pages looked before we cut them out.
Here’s how to make your own Whooo Loves You? I do! owl craft:
- Download and print the free printable I’ll share below.
- Print the owl body, parts, and the main printable. (Don’t cut anything out yet.)
- If desired, trim about 1/4 inch from the top and bottom of the main printable. This will give an even border if you choose to glue it to a piece of construction paper as I have done. If you choose to, go ahead and glue this to a piece of construction paper.
- Cut a foam sponge into small squares.
- Have your child sponge paint squares onto the page with the owl body. (It’s easier if you do not cut out the owl first because it gives them more room to work and will also make less of a mess.)
- Have your child paint or color the owl eyes, beak, and feet. (Again, it’s easier to do this before you cut them out.)
- Allow the paint to dry.
- Once dry, cut out all the pieces.
- Glue the eyes and beak onto the owl body.
- Glue the feet onto the tree branch of the main printable.
- Glue the owl body on top of the feet.
- Get a baby wipe or wet washcloth ready and nearby. (Trust me on this one!)
- Using a paintbrush, with a non-toxic paint, brush paint onto the palm and fingers of your child’s first hand, and carefully lay their hand onto the owl in the correct position (I turned the owl upside down because I wanted the hands to be pointed down. Hopefully that makes sense!)
- Using the washcloth or baby wipe, quickly clean your child’s first hand.
- Repeat with the other hand.
- When done with both hands you can have them wash more thoroughly, but I find it’s much less messy if we do a quick wipe up of the hand we just painted.
- Allow to dry, then present as a gift or display!
Resources:
- Foam Sponge Shapes or Basic Foam Sponge Shapes
- Tempera paint
- White cardstock
- Construction paper
- Smock to protect clothing
- Paint tray palette
- Basic paint brushes
- Glue
- Scissors
Download this exclusive homeschool printable for free when you become an email member of Our Life in the Shire (it’s free!) Sign up and get a link here!


You May Also Like
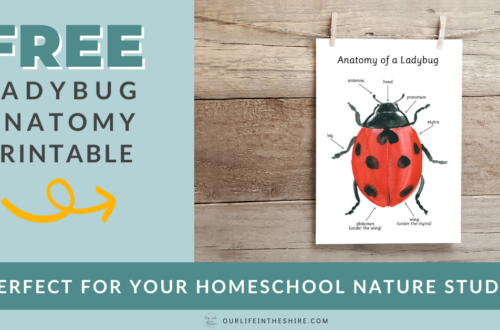
Ladybug Anatomy – FREE Homeschool Printable
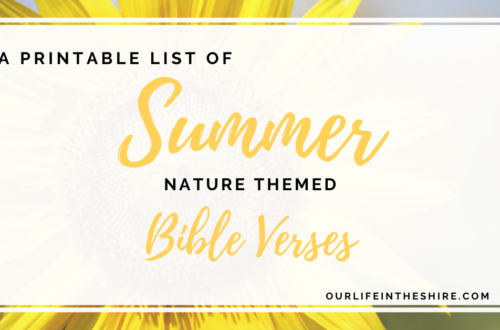
Summer Nature Related Bible Memory Verses