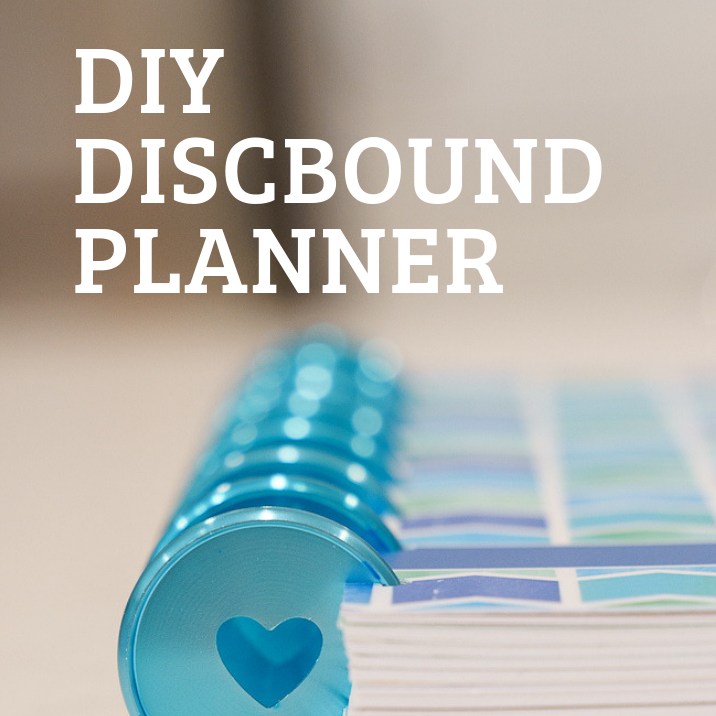
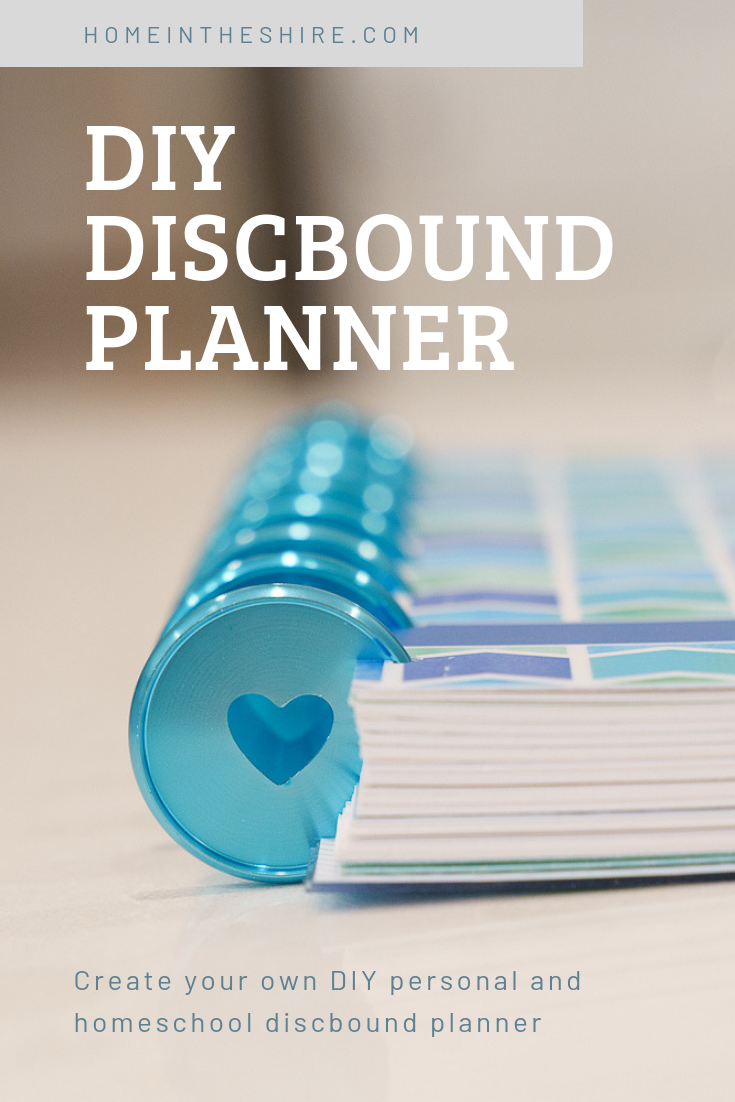
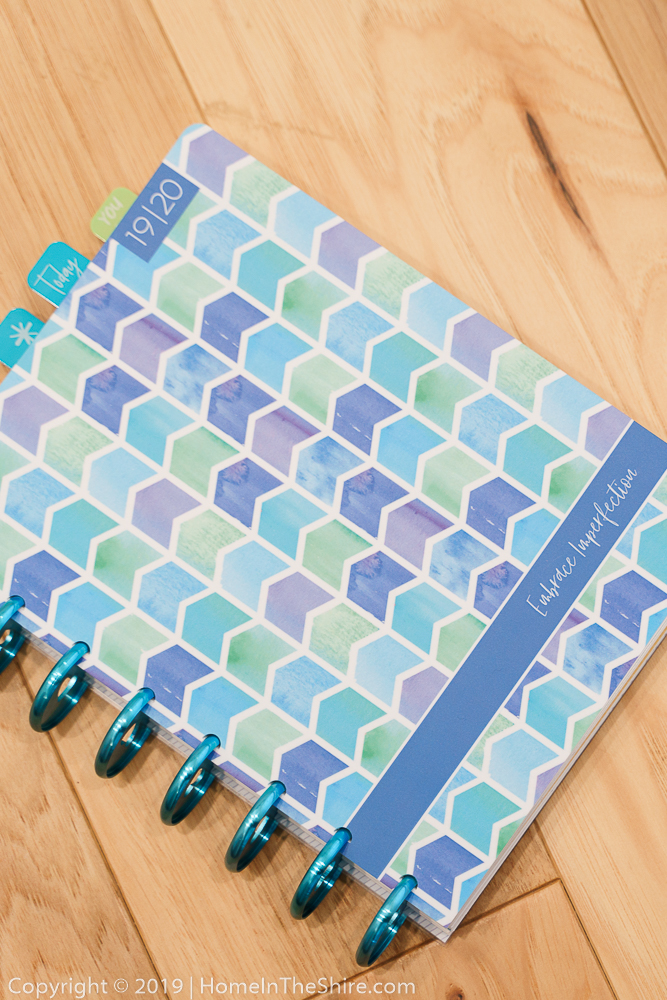
My New Discbound Personal and Homeschool Planner
This year I decided to combine my personal planner with my homeschool planner and to convert over to a discbound planner. For a long time I’ve used a bullet journal. As a planner junkie who loves to try out new layouts, it suited me perfectly. More recently I’ve been using a bujo in a traveler’s notebook, which was even better. The one big drawback to both of these options is that you can’t add or remove pages. I knew I didn’t want a ringbound planner because the rings tend to be big and get in my way. I like how you can flip over spiral planners, but like with ring bound planners you can’t add or remove pages. Then I heard about disc bound notebooks and was intrigued. I could treat it like a bullet journal in many ways, it lays flat, and I can add and remove pages? Enter my new planning obsession – the discbound planner.
I spent weeks (let’s be real, it was months) researching and debating over whether to go with a pre-made option or to make it entirely myself from scratch. I also spent a long time in that place of complete indecision over the size. Because here’s the thing – there are multiple size options and each one has its pros and cons. Each size has a varying level of pre-made options available to purchase, such as covers and pre-punched dividers and inserts.
Letter size for example is readily available for most of us in the United States. There are TONS of free printables in 8.5×11 size. If you go with a planner this size you can literally print, punch, add to your planner. The reason I didn’t choose this size is that it’s just too bulky for me. I wanted something I could pack when we travel or put in a backpack and that didn’t take up so much space sitting on the table next to me.
Knowing letter was too big, I was left with a few options: 7×9, junior (half letter), or A5. I was tempted by the 7×9, which is the size of the very popular Classic Happy Planner, but the outside dimensions of the cover are bigger. It’s also the same as the medium size through Plum Paper. This size has lots of adorable add-ons and options. Even if I wanted to DIY part of my planner, I’d still have the option to buy things like dividers, covers, and papers. I was sooooooo close to going with this size. I went to Joann’s Fabrics (one of my favorite stores!) and looked at the Happy Planners in person. I knew I didn’t want to buy a kit, because I wanted to make some of my own pieces and keep it a little more minimal. But I wanted to check out the size. It was just too big.
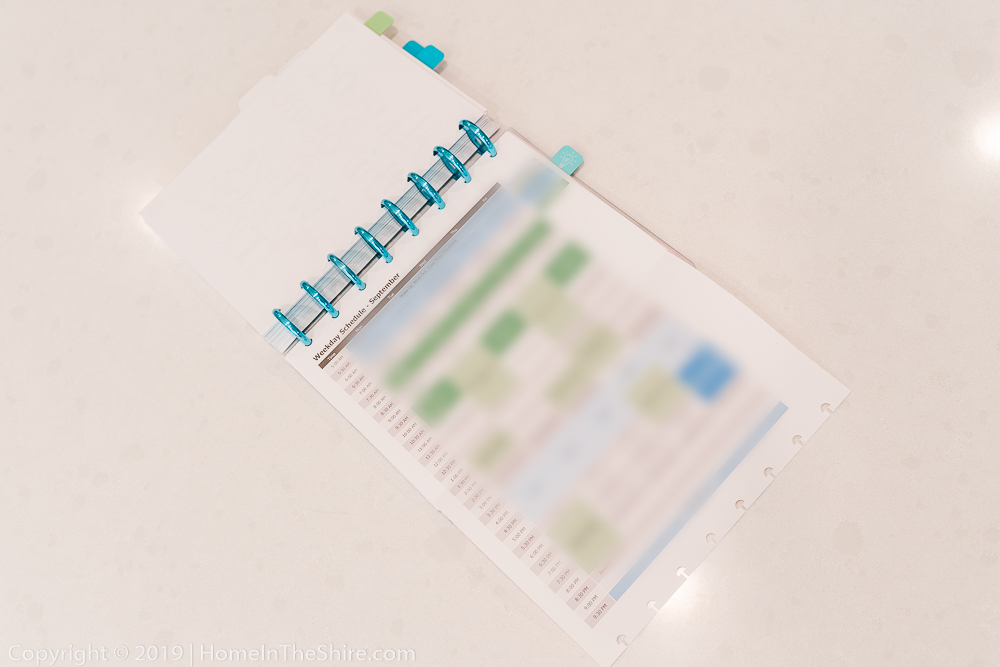
The nice thing about a disc bound planner though is you actually CAN include letter size inserts. Just fold it, punch, and add to your planner. When you want to look at that page, just fold it out. It is so easy to add and remove pages that you can experiment with different options. I have our weekly schedule on a letter size sheet because it’s easier to read this way.
Because 7×9 was too big for me, that left me with A5 (5.8″ x 8.3″) or junior (5.5″x8.5″). Both have printer paper available to purchase and both have some pre-made options. Junior size has the added bonus of literally being half a sheet of letter paper, meaning you could print on letter paper and cut it in half. I would say that for disc binding there are more options at the junior size. The primary reason I went with A5 was because I wanted to try out Plum Paper. If I switch over to junior at some point I may have to pick up this adorable Martha Stewart cover (I don’t own it so I can’t give you a personal review). TUL, Circa, Arc, and Talia are a few others that offer junior size options.
I think A5 or Jr is the perfect size for a planner. Not too big, not too small, just right.
No matter what size you go with, you’ll need a disc punch. A friend recommended this Arc paper punch to me and I’ve been very happy with it. It punches through multiple sheets at once cleanly and will even do thicker pages like the laminated dividers I made and the even thicker cover from Plum Paper.
For my planner I went with weekly layouts because that is what I have used in my bullet journal. You have options, everything from drawing a new layout each week to designing your own and printing, to buying a pre-made full year of layouts (like the Plum Planner I bought this time), to buying printable PDF templates on etsy. I’ve tried it all. If you are going with the Plum option it’s important to tell them NOT TO PUNCH or BIND your planner. This way you can disc punch and bind it yourself and add or remove whatever you want. I bought these really pretty discs to use, but I found that they will only comfortably fit about 4 months of weekly spreads when I include my other sections. I almost wish I’d gotten the larger size, but then again it’s so easy to add and remove pages and it’s kind of nice having a more compact planner.
One of the things I include in every planner is a meal planning section, along with a list of my family’s favorite meals. I find it makes it easier when it’s time to plan meals for the week. 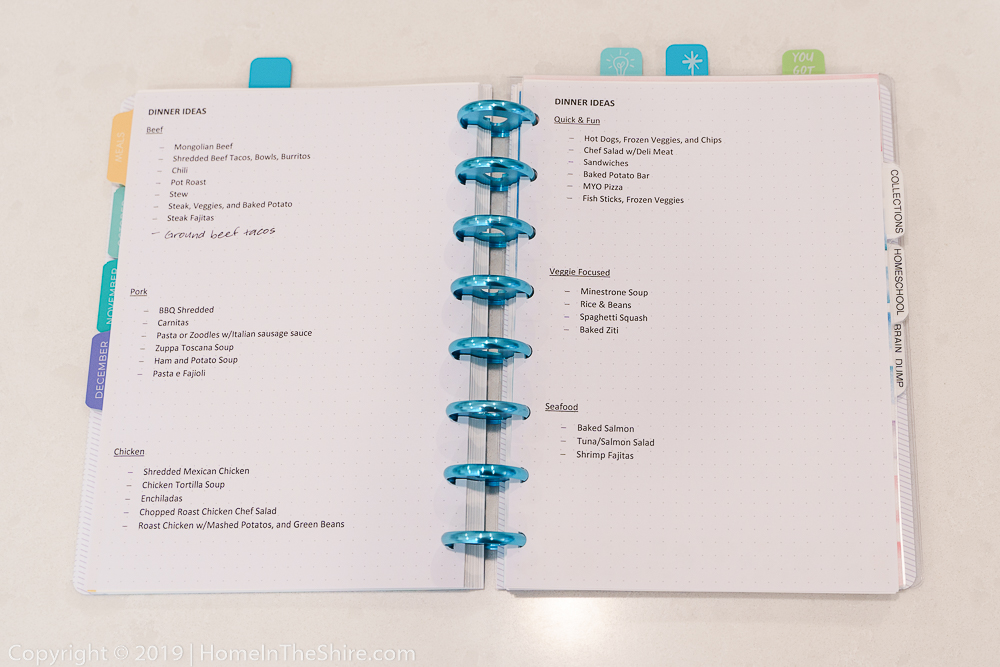
So, to give you the quick summary, here’s how I made my planner:
- Ordered unpunched, unbound basic weekly layout from Plum Paper
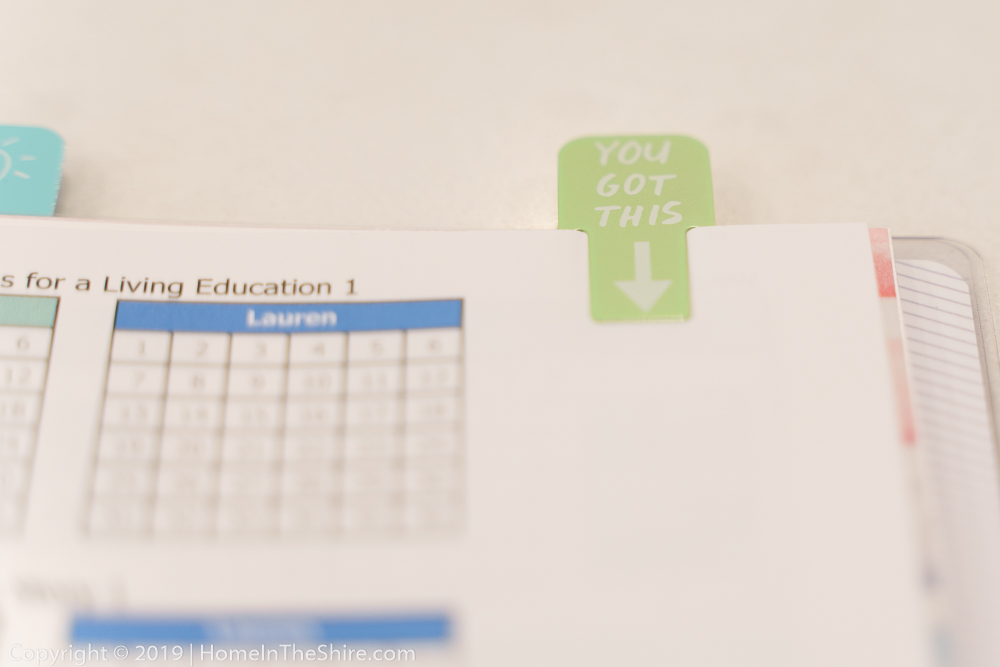
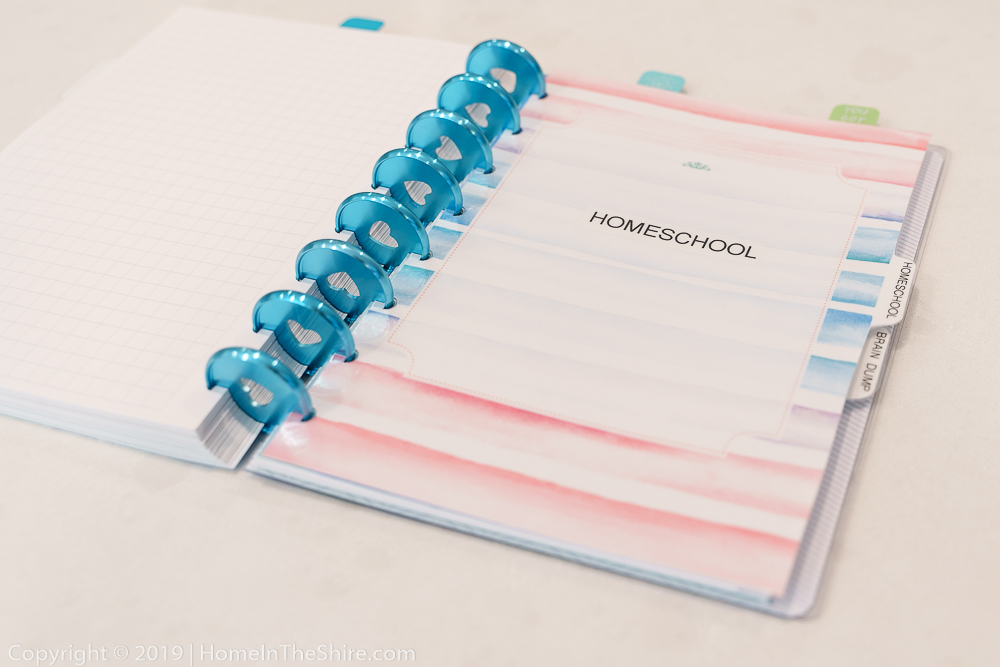
- Created and printed some printables for my homeschool section
- Printed some of the cute quote pages from the free planner blog
- Purchased A5 grid and/or dot grid paper for my Collections and Brain Dump sections
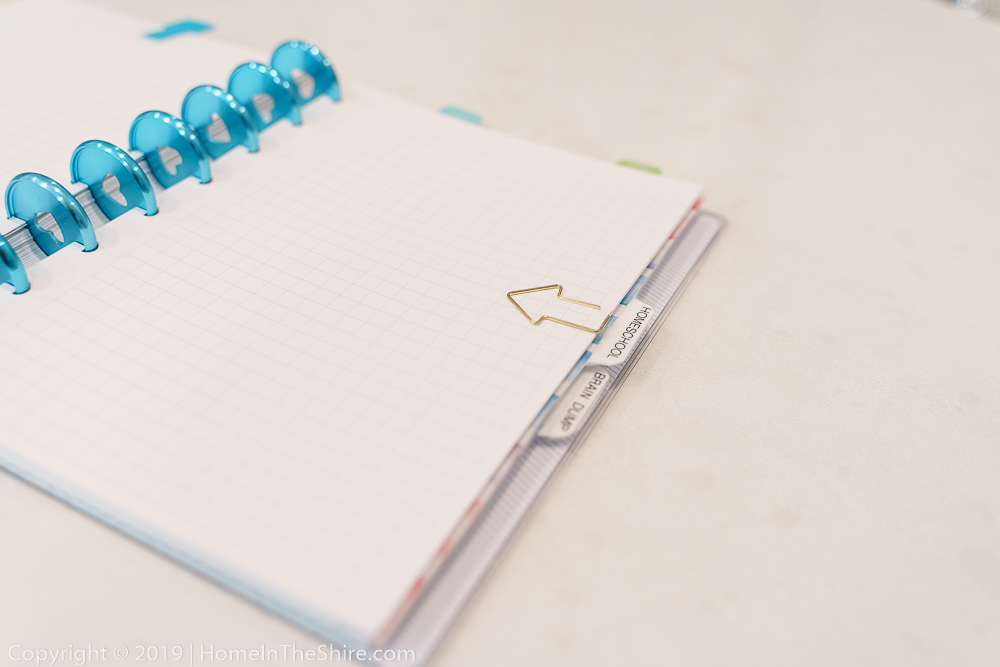
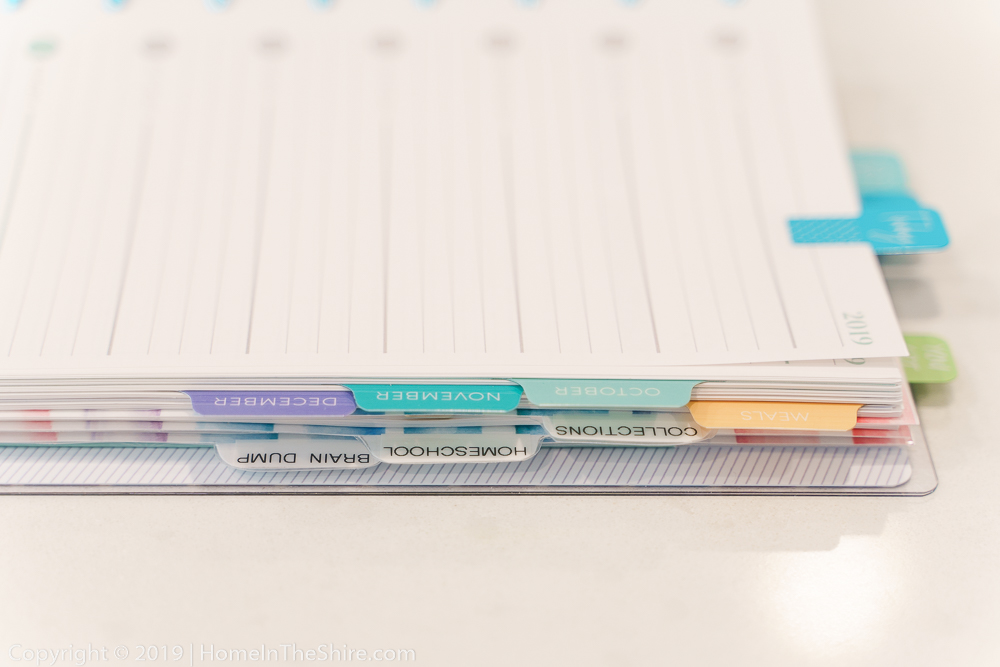
- Printed (on cardstock) dividers for my Homeschool, Collections, and Brain Dump sections
- Used the Plum dividers to trace a template onto the cardstock so that I’d know where to cut for the tabs
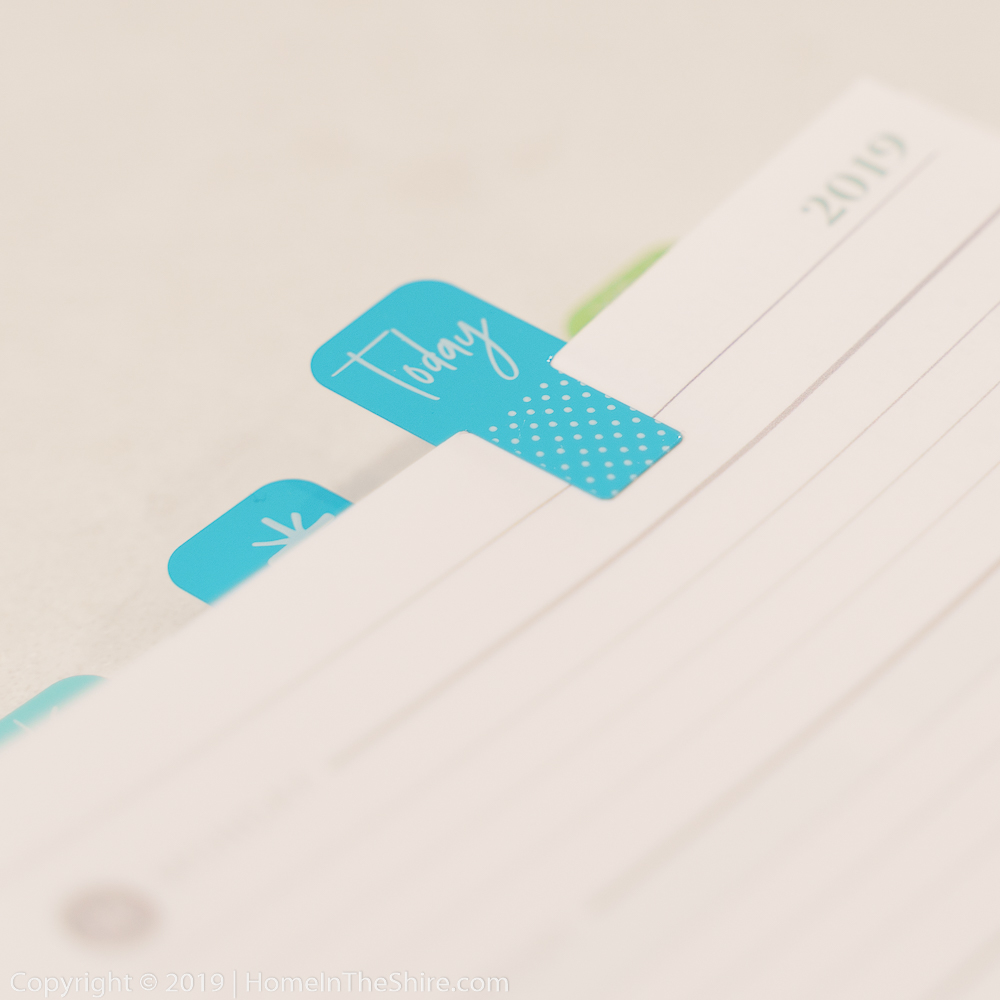
- Made labels and stuck them onto the tabs
- Laminated then cut the dividers
- Used my disc punch to punch all the pages from back to front, making sure to keep everything in order
- Attached my rings to the pages
Resources
- 1.25″ Blue Happy Planner Discs
- Arc paper punch
- Half Letter Paper
- A5 Paper
- A5 Dot Grid Paper
- Laminator – I almost forgot to include this because it’s that piece of equipment that I just use all the time and don’t even think about
- Paper Trimmer – I have the portable version of the one I linked, and it works fine, but I think I’d rather have this one
- Label Maker – I LOVE this thing and use it all over the house!
- HP Instant Ink – this is how I get ink to print everything. Use my link to try it and we both get a free month!
- Bullet Journal – this was what I used for a very long time for all my planning, and was about half the price of the well known Leuchturm1917
- Plum Planners
- Tons of free planner printables in sizes A5 and A4
I love combining my homeschool planner with my personal planner and it was so easy to do!
I’ve also put together my Homeschool Planner excel spreadsheet to share. This is what I have in my planner, so you will need to modify it to suit your needs. Enjoy!
As an Amazon Associate I earn from qualifying purchases.


2 Comments
Kelly Bester
I love your planner ideas! But, can you tell me why you wouldn’t want Plum Paper to punch the planner for you so it would be ready for the discs upon delivery?
mshutterbug
Hi there! Yes! Because I like to use a disc binding I have to do that myself. The holes they punch are not the right size/spacing for discs 🙂